Connect Your Jira with CodeValid
Connecting your Jira with CodeValid is a seamless process. Setting up this integration is highly recommended, as it will allow CodeValid to automatically capture all new requirements to generate test cases.
Below is the step-by-step guide to setting up your workspace.
Step 1: Link Your Workspace
-
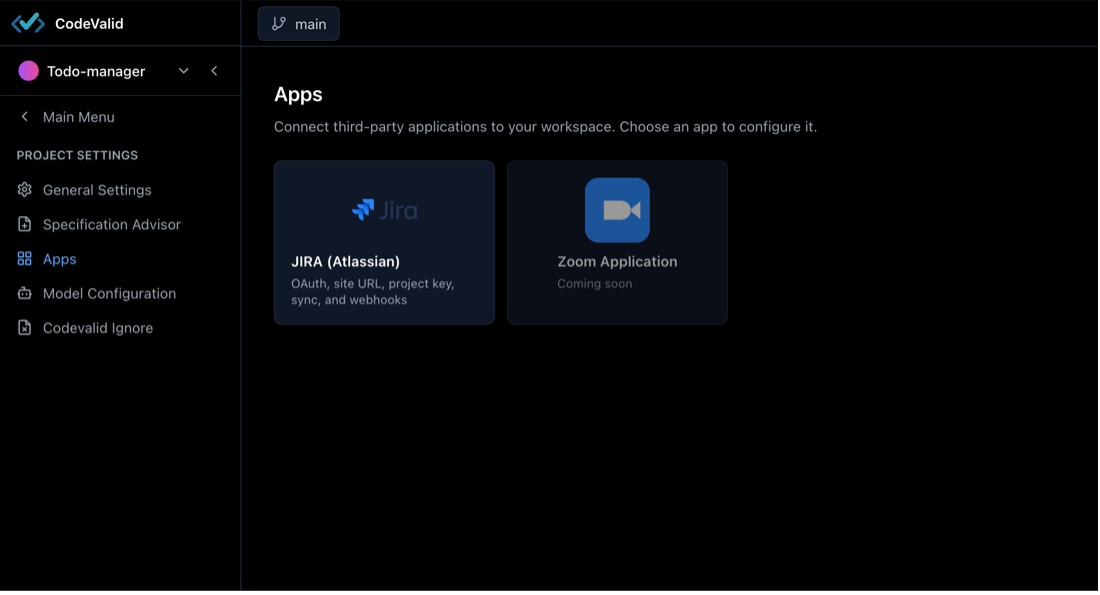
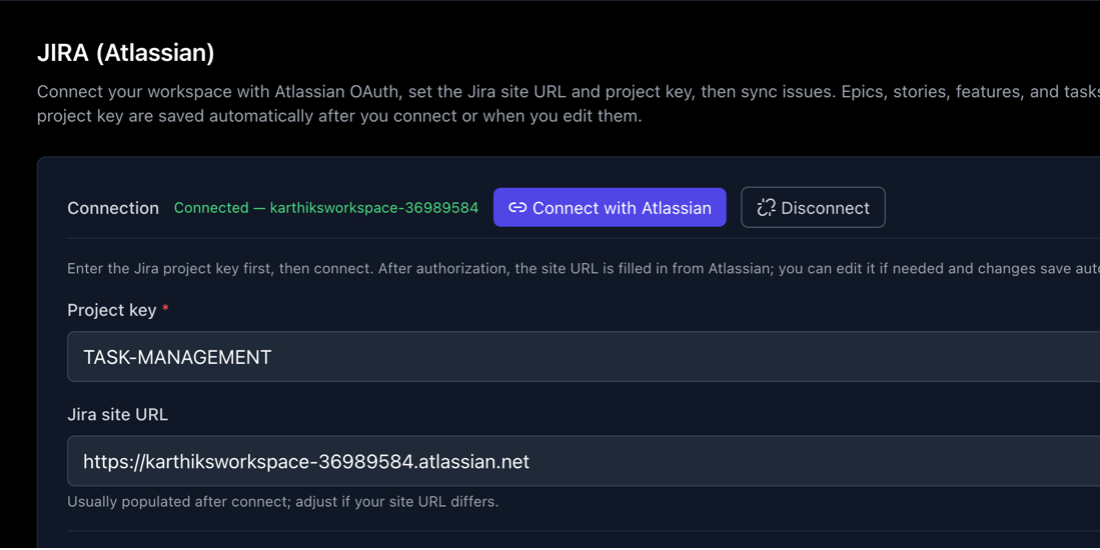
Start by going to the settings of your workspace and navigate to the Apps section.
-
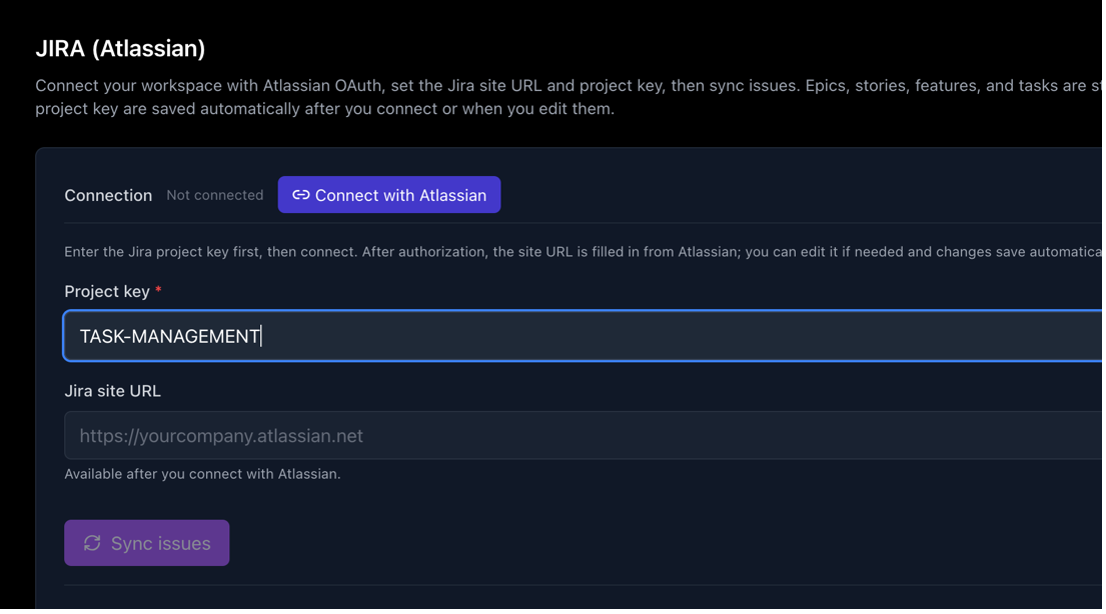
Select the Jira application and provide the project name (or project key) you wish to connect with this workspace.
-
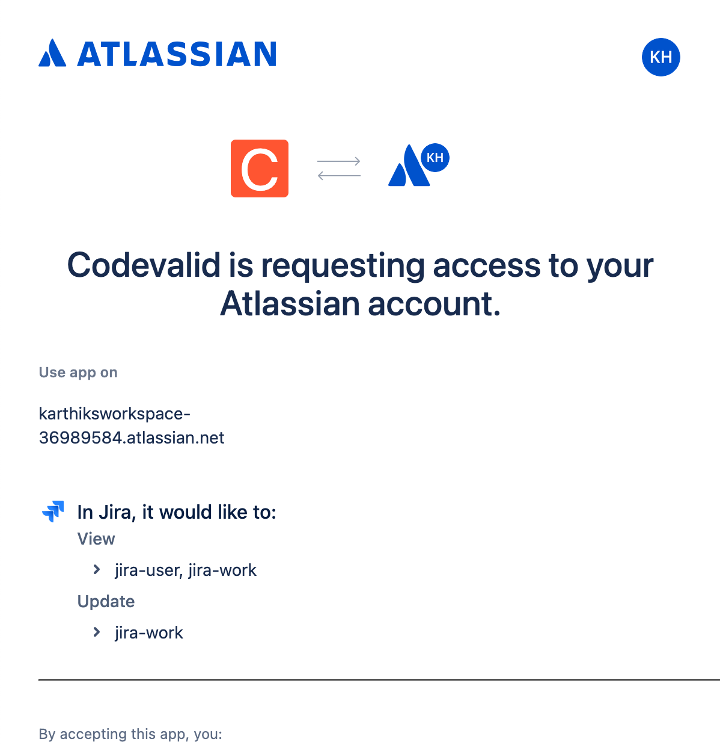
Click Connect with Atlassian and grant CodeValid the necessary permissions to access your account.
-
Once authorized, your screen will update to show that the workspace is successfully connected to your Jira site.
Step 2: Configure the Webhook
Next, you need to configure a webhook.
Think of a webhook as a digital notification system. Instead of CodeValid constantly asking Jira, "Are there any updates?", the webhook allows Jira to instantly tap CodeValid on the shoulder the moment a task or requirement changes.
-
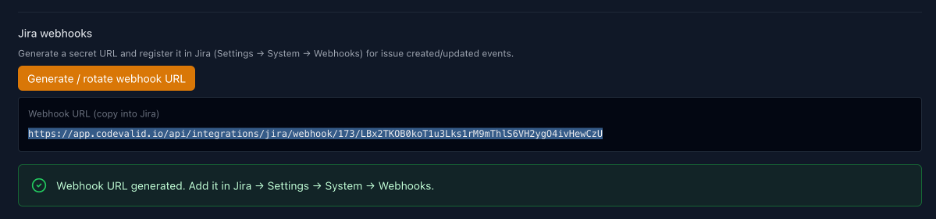
First, copy the webhook URL from CodeValid, which can be found under the same tab at Settings > Apps > Jira.
-
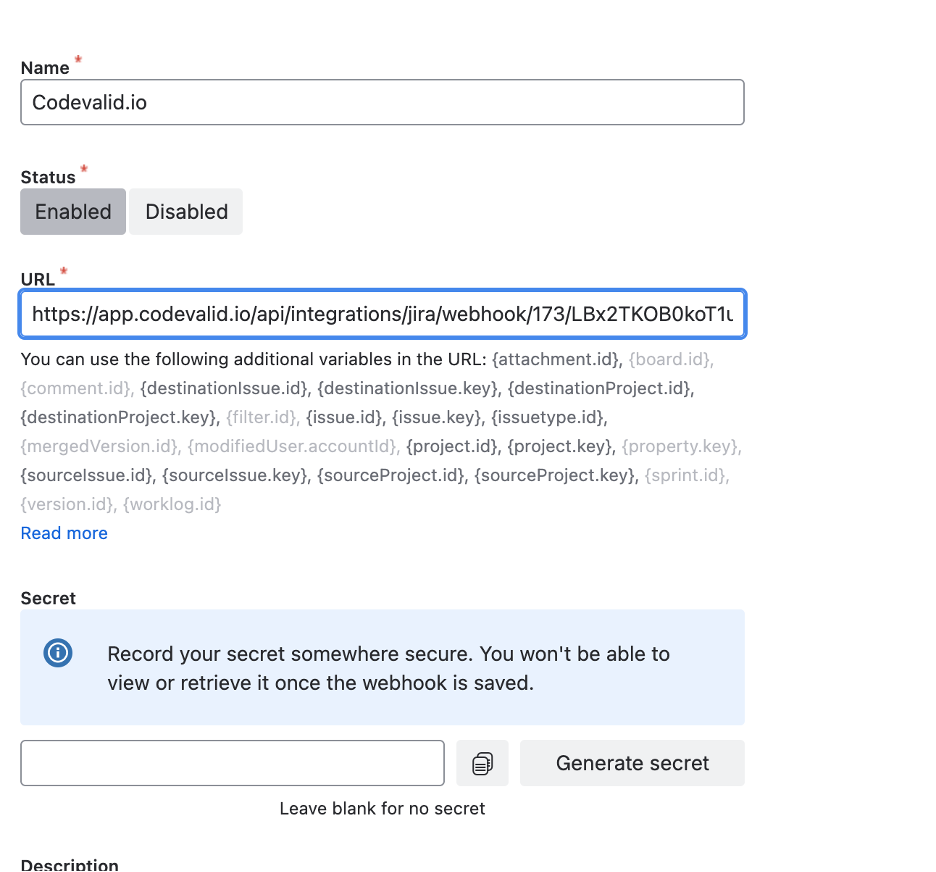
Next, set up this URL in your Jira webhook configuration.
Need help finding this in Jira? You can review the official Atlassian documentation for configuring webhooks for detailed navigation instructions.
- When setting up the webhook in Jira, it is critical to enable the following permissions to ensure CodeValid receives the right data:
- Issue: Check
created,updated, anddeleted - Attachment: Check
createdanddeleted - Issue link: Check
createdanddeleted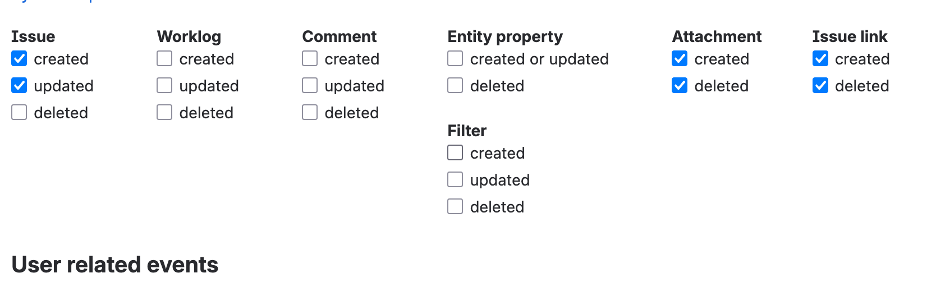
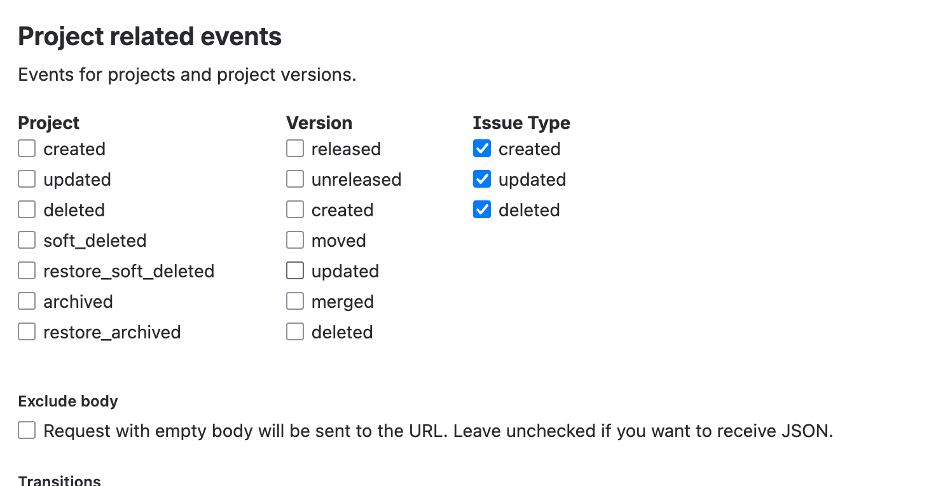
- Issue: Check
Step 3: Filter Specific Epics (Optional)
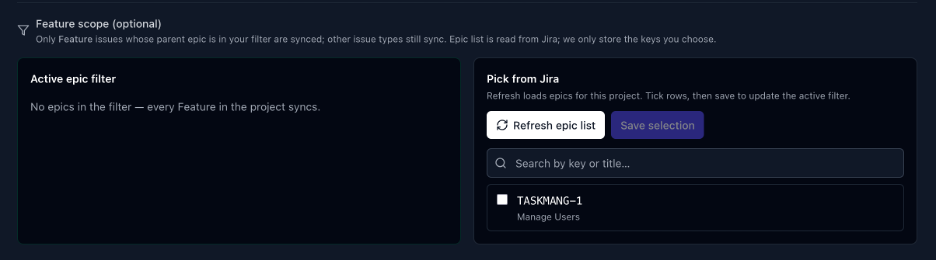
If you have a large project, you might not want CodeValid to process everything. You have the option of selecting and filtering epics for the workspace.
You can filter or select only the specific epics that you want CodeValid to read by following these simple steps:
- Click Refresh epic list (or load epics) to sync your latest Jira data.
- Select the epics you wish to track from the list.
- Click Save selection (or save changes) to apply your filters.